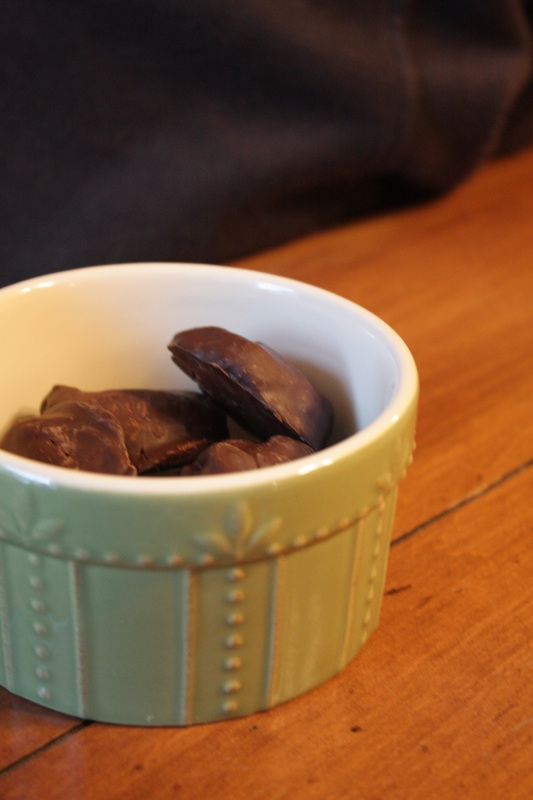
That’s right, homemade almond joys. Yum x100. There really isn’t much to say about these little guys, except that they are delicious. Here is a hint: Do not drop the almond joys in the chocolate, because they start to melt. In about 5 seconds (yes, I did drop one of the almond joys in the chocolate, so this hint is from experience) your snack will be melted. Not good.
Also, if you don’t have un-sweetend coconut, sweetened will work fine (I used sweetened coconut). The estimated time was around 15 minutes to make (not counting the freezing process).
Enjoy!
Lydia
Homemade Almond Joy and Mounds Bars
Yield: make 10-11 bars
Ingredients:
1 cup unsweetened shredded coconut, lightly packed
3 level tablespoons unrefined virgin coconut oil – This is the coconut oil that actually smells like a coconut.
2 tablespoons honey or agave syrup to keep it vegan – I used a local honey from Marshall’s Farm.
1 teaspoon pure vanilla extract Recipes
10-11 roasted and unsalted almonds
1/8 teaspoon kosher or sea salt
4 ounces bittersweet chocolate, chopped or broken in to small pieces if you’re using a bar – You can use either 4-ounces of bittersweet chips or one 4-ounce chocolate bar. I used a 4- ounces bittersweet chocolate)
Directions:
1. In a food processor, process the shredded coconut, coconut oil, honey, vanilla extract, and salt until it forms a thick paste, about 2-3 minutes.
2. Test the coconut mixture to see if it holds together by squeezing a small amount in your palm. It should compact nicely. If the coconut mixture doesn’t hold together well, then continue to process the mixture for 1 to 2 more minutes.
3. Line a small baking sheet (one that can fit in your freezer) with parchment paper.
4. Using a tablespoon, (the tablespoon helps to keep the bars uniform in size) scoop out and gently press down the coconut mixture into the measuring spoon. You want a fairly level scoop here.
5. Drop the tablespoon of mixture onto the lined baking sheet and then press and mold the balls into a rectangle shape. You can press and mold them on the baking sheet or in the palm of your hand, whatever is easier for you.
6. Press an almond on top of the coconut rectangles to make an Almond Joy or leave as is to make a Mounds bar.
7. Place the coconut rectangles in the freezer for 15 to 30 minutes, or until solid. Mine took about 20 minutes to freeze up.
8. Once the coconut bars are frozen, it’s time to melt the chocolate.
9. Make sure to keep the coconut bars in the freezer until you have melted your chocolate.
10. Place the 4-ounces of chocolate or chocolate chips into a heatproof bowl.
11. Set the bowl over a pan of simmering water, (make sure that the bowl doesn't touch the water) and melt the chocolate, stirring constantly with a rubber spatula, until melted and smooth. Immediately remove the melted chocolate from the heat and give it a stir with a spatula.
13. You can also melt the chopped chocolate in a microwave-safe bowl for 15-second intervals, stirring between each interval, until the chocolate is smooth. I prefer to melt my chocolate over a pan of simmering water because that way I ensure that it doesn’t get overcooked or scorched.
14. When the chocolate is melted, take out the frozen bars.
15. Gently insert a toothpick into a bar, and dip the bar into the melted chocolate making sure that the whole bar gets covered with chocolate.
16. Lift the bar out with the toothpick and tap off any excess chocolate. Return the chocolate covered bar to the parchment paper and gently remove the toothpick from the bar. I used another toothpick to hold down the bar while I removed the toothpick. Repeat the process with the other remaining bars.
17. Once all of the bars have been dipped into the chocolate, place them in the freezer for a few minutes to set.
18. Store the bars in the refrigerator in an airtight container. These bars should keep for several days. Take the bars out for a few minutes before you consume them though!

